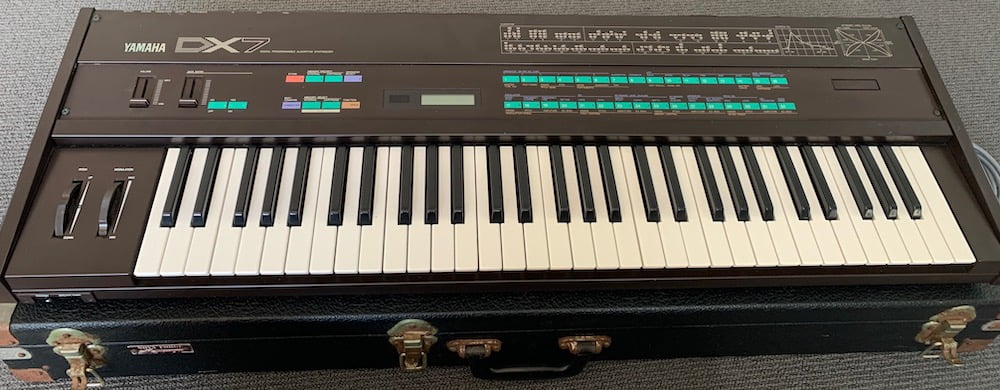
Oh the fun day I’ve had. Yesterday I took delivery of an original DX7 (see disclaimers below) and obviously the default 32 factory patches aren’t going to maintain anyone’s interest for long. Hence the fun day.
Over the past six hours I’ve trawled around a bunch of great information spread across a bunch of locations, and have come up with this easy guide to transferring Sysex data to your DX7 from your Max running OSX (Catalina at time of writing).
First, some disclaimers:
- The DX7 I own is the original one i.e. a ‘Mk 1’ machine. These instructions won’t work in full on the subsequent models (DX7s, DX7 II, DX7 IIFD etc)
- The USB audio interface you use will play a BIG role in how successful this process is. I initially tried on a PreSonus Studio 1824c and it would not work – the DX7 froze every time I connected the MIDI cables up. I then tried the Komplete Audio 6 interface and it worked like a dream.
- Check the 5-pin DIN MIDI cables you use – if the below process doesn’t work this could be why if you’ve dredged up a 1987 cable from under the house.
- I only did this on a Mac – but most of the info is usable on other operating systems. I hear MIDI Ox is a great app for non-Mac users.
The process:
- Connect your DX7 and Mac. You need an audio interface that connects to your Mac and that has MIDI IN and MIDI OUT 5-pin ports.
- You need two MIDI cables. Connect one from the MIDI OUT of your interface to the MIDI IN of your DX7. Connect the other from the MIDI IN of your interface to the MIDI OUT of your DX7.
- Now you need to get your DX7 ready to accept the SysEx data from your Mac. There’s three steps (this handy video shows you the exact buttons):
- Press the Function Key then the ‘8’ button. If ‘MIDI Ch=1’ is displayed you don’t need to do anything, otherwise use the ‘Yes’ button or Data Entry slider to change it to 1.
- Press the ‘8’ button a second time. If the display says SYS INFO AVAIL you don’t need to do anything, otherwise use the ‘Yes’ button or Data Entry slider to change it to SYS INFO AVAIL
- Now press the green Internal Memory Protect button. If will display MEMORY PROTECT INTERNAL ON as the default. Use the ‘No’ key to change it to MEMORY PROTECT INTERNAL OFF
- For younger synth users it will seem strange that you don’t save these settings but they are now set up how you need them.
- Now you’re ready to transfer SysEx data.
- SysEx Librarian is the app you need on your Mac to do this, and here’s where you get it. It’s free!
- Install SysEx Librarian
- You now need some patch SysEx data to transfer. This is where the wonderful Bobby Blue DX7 page comes in. I downloaded the ‘All The Web Collection’. It’s a standard ZIP file – just unpack it wherever you want.
- In SysEx librarian, you can either drag the downloaded SysEx files straight into the window of the app or use the ‘Add to Library’ option under the File menu in the app.
- Important: the interface needs to be selected from the destination drop-down as shown in Figure 1 below. ‘Act as a source for other programs’ won’t work for this task.
- If you’ve imported more than one file, select the one you want and then click on the Play button.
- A dialog will come up showing that the transfer is happening. On your DX7 it will display MEMORY PROTECT MIDI RECEIVED.
- If you get an error, in SysEx librarian preferences adjust the transmission speed to be lower. I actually set it at 2% to be super-conservative.
- That’s it! Now press the green Internal Memory Select button and then the number button of your choice to see each patch,

I hope that’s of some help to you. If the transfer isn’t working and you’ve checked cables, tried a different interface etc, then you may have an issue with your DX-7. Have a deep search of the internet for that: there’s a thousand and one causes.
Enjoy! I’m off to look at some commercial DX7 sound banks


